Python
Setup
Miniforge
We currently recommend the miniforge installer, which includes:
- Python
- Conda helps manage and install Python packages and other tools and creates and manages virtual environments.
- Mamba is a C++ version of conda that can be faster for some tasks. You can usually use the two interchangeably.
- Defaults to install packages from the conda-forge repository
Local Install Alternatives:
JupyterLite via Jupyter.org
If you would like to use Python for the duration of this workshop without downloading anything (or have problems downloading Miniforge), we recommend using JupyterLite. JupyterLite runs completely inside your browser using WebAssembly and Pyodide and provides an identical interface to the JupyterLab IDE we’ll be using for the workshop. You can drag and drop files to upload example data later on, and you can right click on any files to download them for later use.
Read more about JupyterLite
Note: If you run into issues with JupyterLite hanging or being unable to run code, try running it in a “Private” browser window, or try clearing your browser cache. This will reset the service, so make sure to save any files you need before clearing the cache!
Open OnDemand (UNC Research Computing)
If you have access to UNC’s Longleaf cluster, you can use Python with the Spyder IDE or Jupyter Lab in a web browser on Research Computing’s Open OnDemand service. This service runs on the Longleaf cluster so it’s a great option for complex or long-running Python scripts.
Cloud environments
Two of the most popular Cloud-based development environments are Google Colab and GitHub Codespaces. Both have Jupyter-style notebooks available that should allow you to follow along, and may have additional compute time available for student/academic accounts. You should be hesitant to use these services with any senstive data.
Installation
If you’re coming from an Anaconda installation
If you’re moving from Anaconda to Miniforge, you’ll need to do a little bit of preparation first.
- Uninstall Anaconda
- Check that any remaining .condarc files are deleted. These are often in the following folders:
PC: C:/Users/username/.condarc
Mac: /Users/username/.condarc
(replace “username” with your username)
Downloading and Installing Miniforge
Mac Users: Pay particular attention to whether you need the Apple Silicon (M1, M2, etc.) or Intel version.
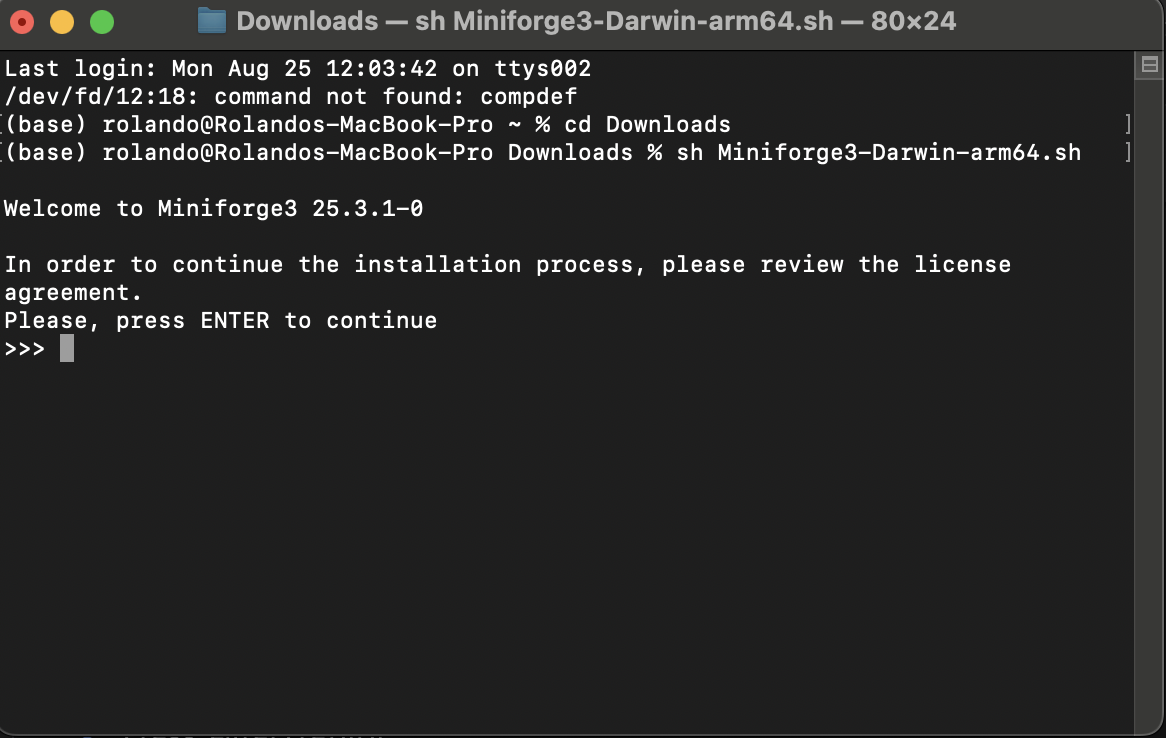
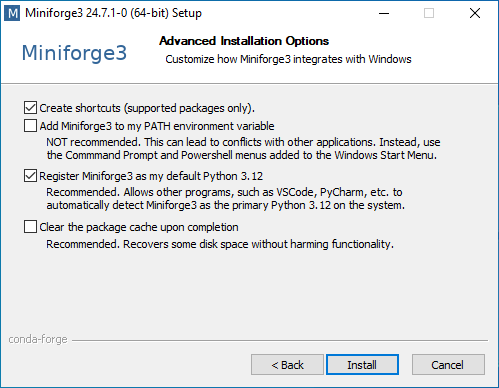
| Mac Installation | PC Installation |
|---|---|
|
1. PATH
2. Registering Python
|

Installing Python packages
Miniconda does not include all of the Python packages we’ll be using in the workshops. We’ll need to install them manually.
- Open the terminal (Mac) or Miniforge Prompt (PC)
- Mac: Finder > Applications > Utilities > Terminal
- PC: Start Menu > Miniforge3 > Miniforge Prompt
- If coming from an Anaconda installation, check the channels list with:
conda config --show channels
- If the channels list is only
conda-forge, continue to step 3. - If the channels list starts with
default, you probably have an old .condarc file leftover from Anaconda.- run
conda config --show-sourcesto see likely locations (any file not in a miniforge folder) - check C:/Users/username/.condarc on PC, or /Users/username/.condarc on Mac (replace “username” with your username)
- run
-
Run the following to install some key packages:
conda install jupyterlab pandas seaborn matplotlib bokeh
or
mamba install jupyterlab pandas seaborn matplotlib bokehtype
Yto accept the install if prompted -
Optionally install these packages that we’ll briefly cover in a survey during the final workshop:
conda install nltk beautifulsoup4 scikit-learn pillow polars duckdb joblib
or
mamba install nltk beautifulsoup4 scikit-learn pillow polars duckdb joblib
then we’ll install one package only available throughpip
pip install noaa_sdk
Integrated Development Environments (IDEs)
We’ll primarily teach in JupyterLab since it is easily installed with conda. If you’re already familiar with a different development environment (VS Code, Spyder, PyCharm, Google Colab, Positron etc.), you’re welcome to use it. It will be easiest to follow along if your environment supports Jupyter Notebooks or a similar notebook format. Our ability to troubleshoot other environments during the workshop may be limited.
FAQs
What’s the difference between conda and mamba?
mamba translates most conda functionality from Python into C++, which can make some tasks a little faster. They’re usually interchangeable!
Why not work with an existing installation?
If you use macOS or Linux, then you most likely already have Python on your computer! Python does not come with Windows, but it may be on your machine as part of other software (e.g. ArcGIS Desktop).
However, unless you’ve worked with Python already, your pre-existing installation may only include the bare minimum and may be an out of date version. Therefore, we recommend a new installation with some extra tools for all operating systems.
Why not use pip + venv?
The pip and venv packages are usually included with a new Python installation and cover much of the functionality of conda/mamba - installing Python packages and creating and managing virtual environments. However, conda/mamba can also install other programming languages and tools, while still using pip if needed.
Why not Anaconda?
The Anaconda distribution includes conda and Python along with a large curated collection of data science oriented packages. However, Anaconda is only free to use for certain types of users. Read more here